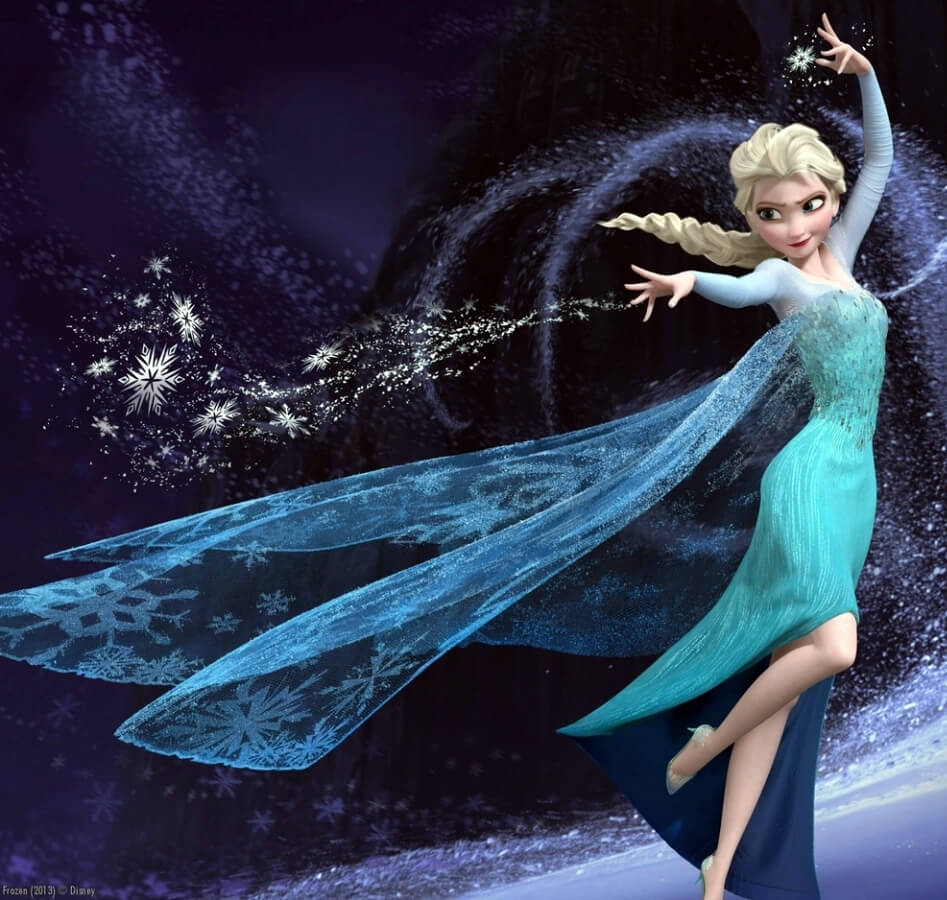
Disney’s Frozen “Let It Go” moment – the moment when Elsa casts off the restrictive confines of her secret existence – is truly character defining.
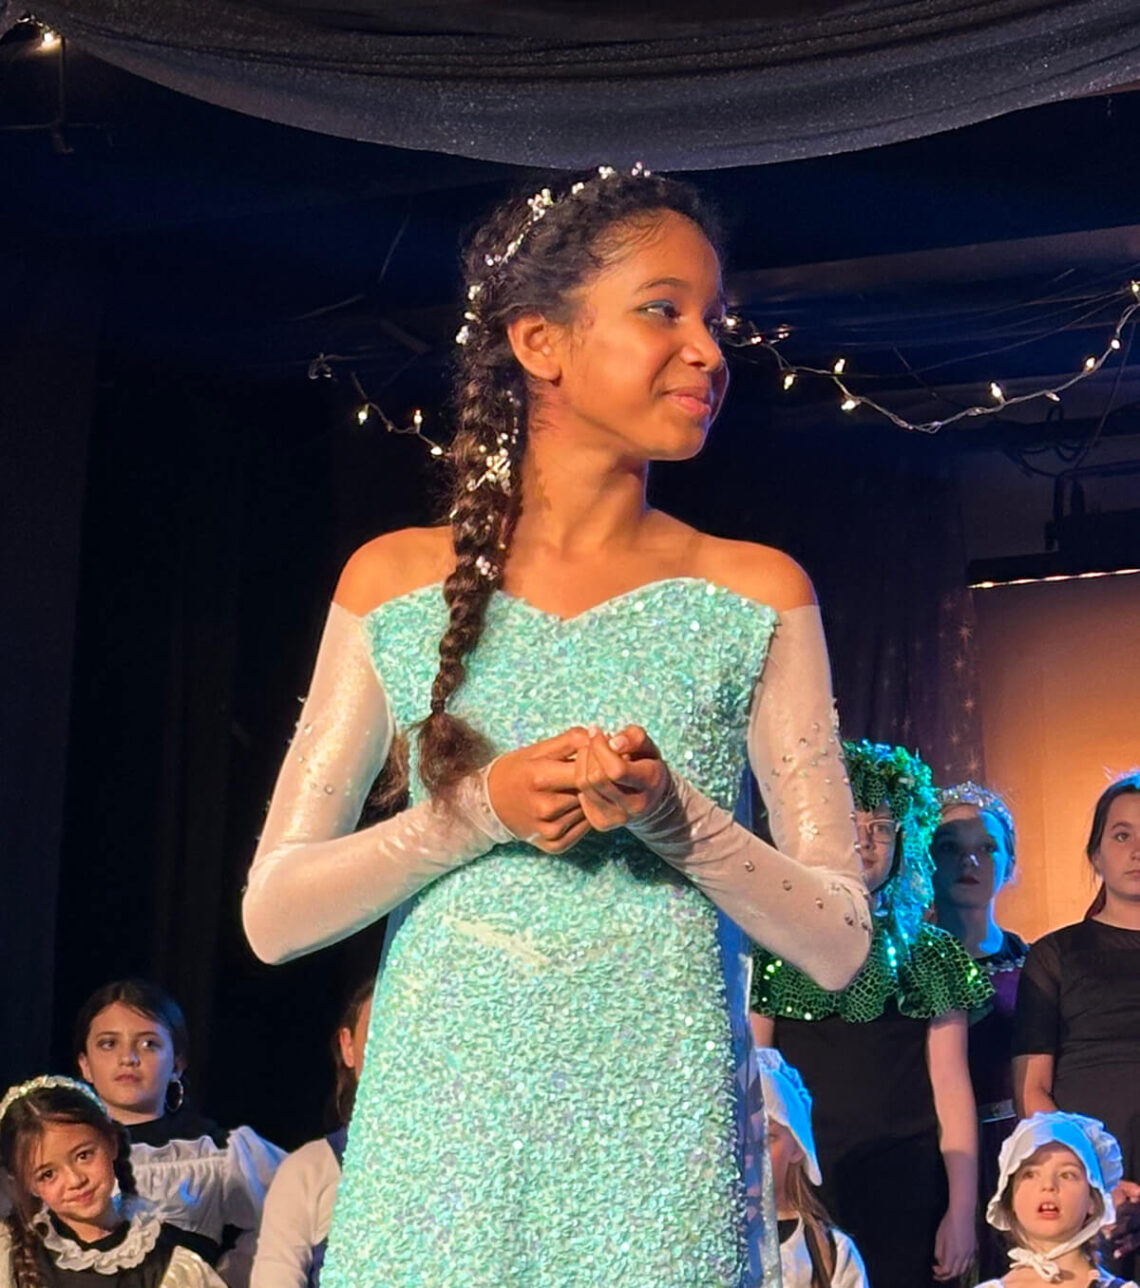
The Let It Go moment firmly establishes the character’s transition from fearful girl to powerful queen. When I learned my 12-year old granddaughter Felicity landed the lead role of Elsa in her youth theater group production of Frozen Jr, I was jazzed to have an opportunity create a costume that could meet the challenge of the Let It Go moment.
Staging the Let It Go Dress Reveal
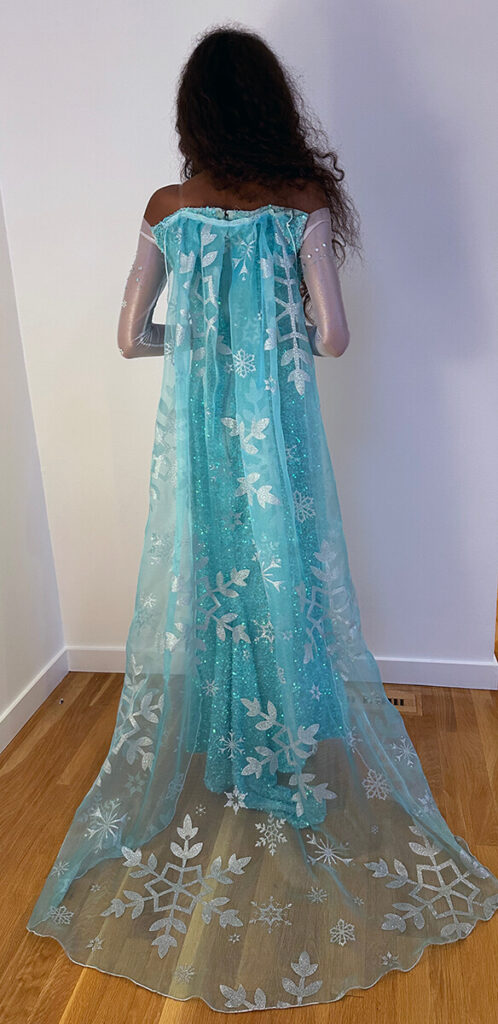
The magic transformation from repressed “conceal, don’t feel” Elsa to Elsa the Snow Queen is easily achieved in animation. The Broadway musical uses a combination of trap doors, tear-away costumes and technological stagecraft to achieve the illusion. Making it happen convincingly on a barebones community theater stage took some thought. Felicity’s mom came up with the cape idea. Felicity could accomplish her Let It Go moment by wearing an enveloping velvet cape. Then, dramatically, on cue, drop the cape to reveal the sparkling and transformed Elsa underneath.
Crafting an Iconic Elsa Gown
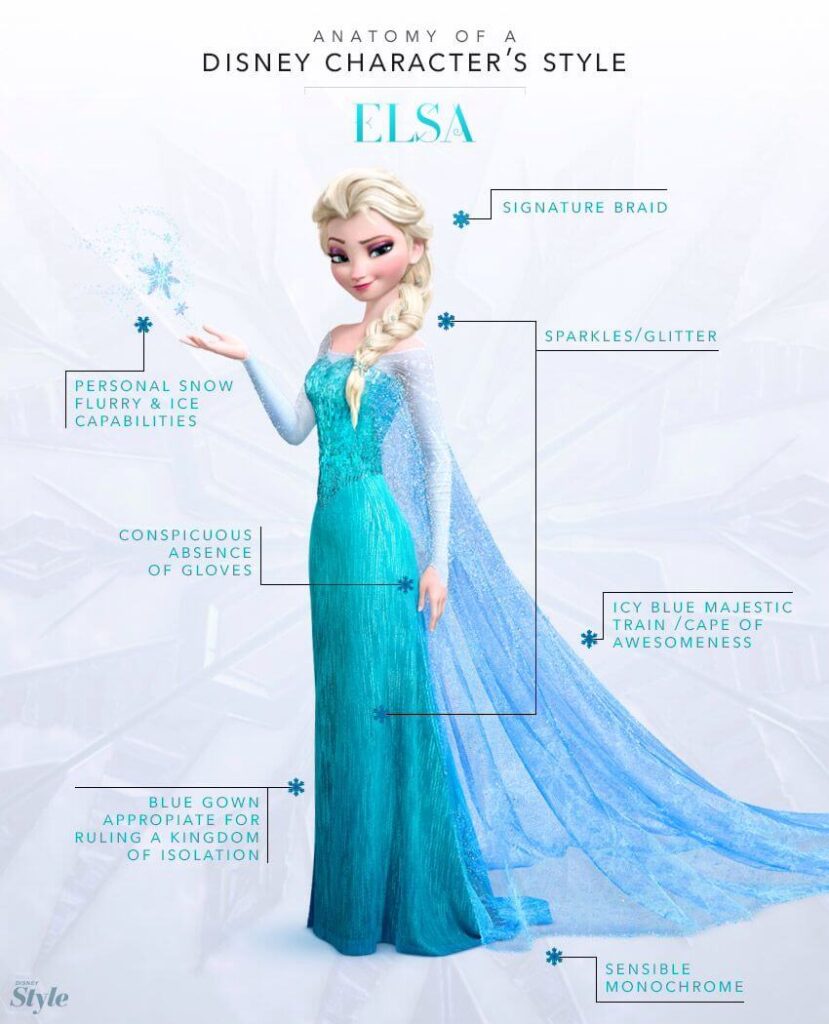
None of the available commercial patterns worked for making the dramatic “Let It Go” stage costume I envisioned for Felicity. To duplicate the iconic Disney character style, I decided to draft a pattern with the following elements:
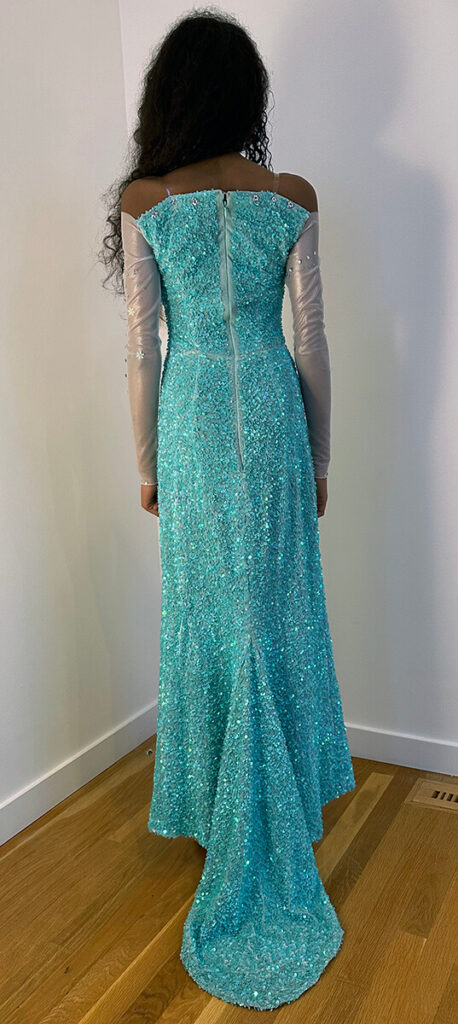
- form-fitting princess seam bodice with a sweetheart neckline, appearing to be strapless
- a simple draped skirt with a very minimal train and side slit
- off-the-shoulder semi-sheer and shimmering long sleeves
- a long trailing sheer train, but not too long, so as not to inhibit stage movements
…and one thought crystallizes like an icy blast — FABRIC CHOICE!
I knew the Elsa gown worn underneath the velvet cape had to be literally stunning to communicate the character’s transition to the audience. And though, some of you Makelings may be tired of hearing this refrain, but fabric choice would again prove to be crucial to ultimate success. These are the fabrics and Etsy resources selected for this project:
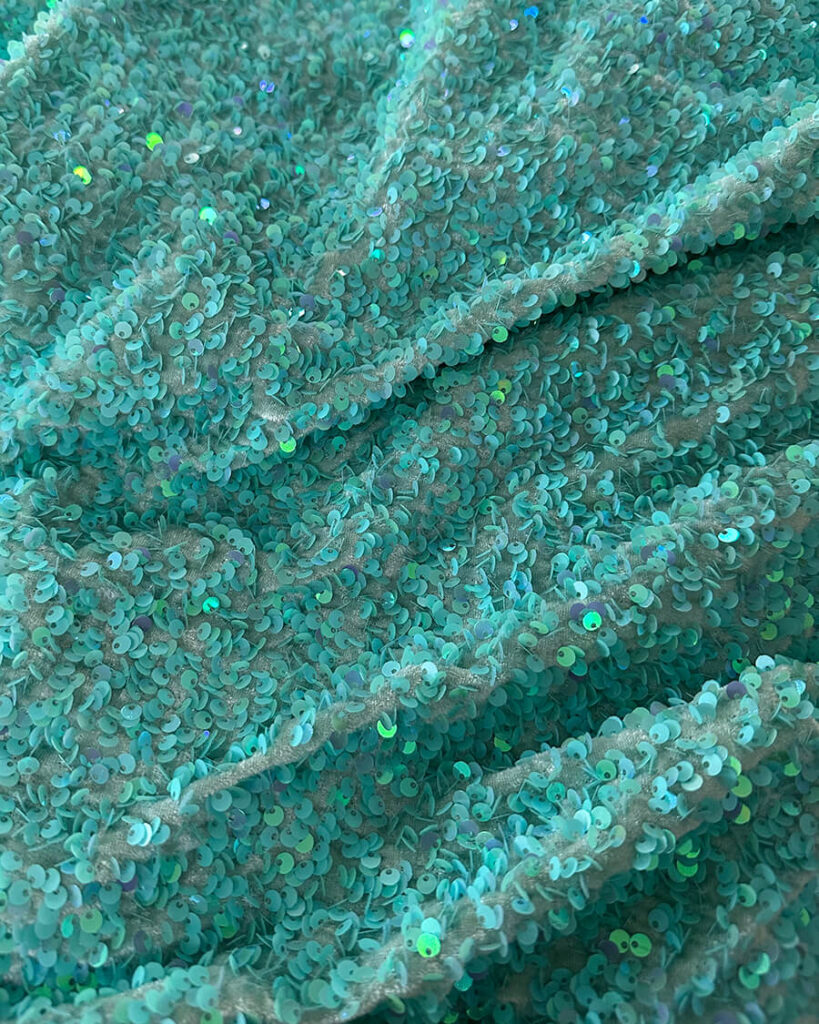

Sequined Stretch Velvet from Kiki Textiles: This is the same fabric type I used to make the under-the sea Ariel costume this past summer. Albeit a pain in the ass to work, I knew this sequined stretch velvet would be perfect for color and fit. More important, it would pack a super-sparkely punch under the stage lights.
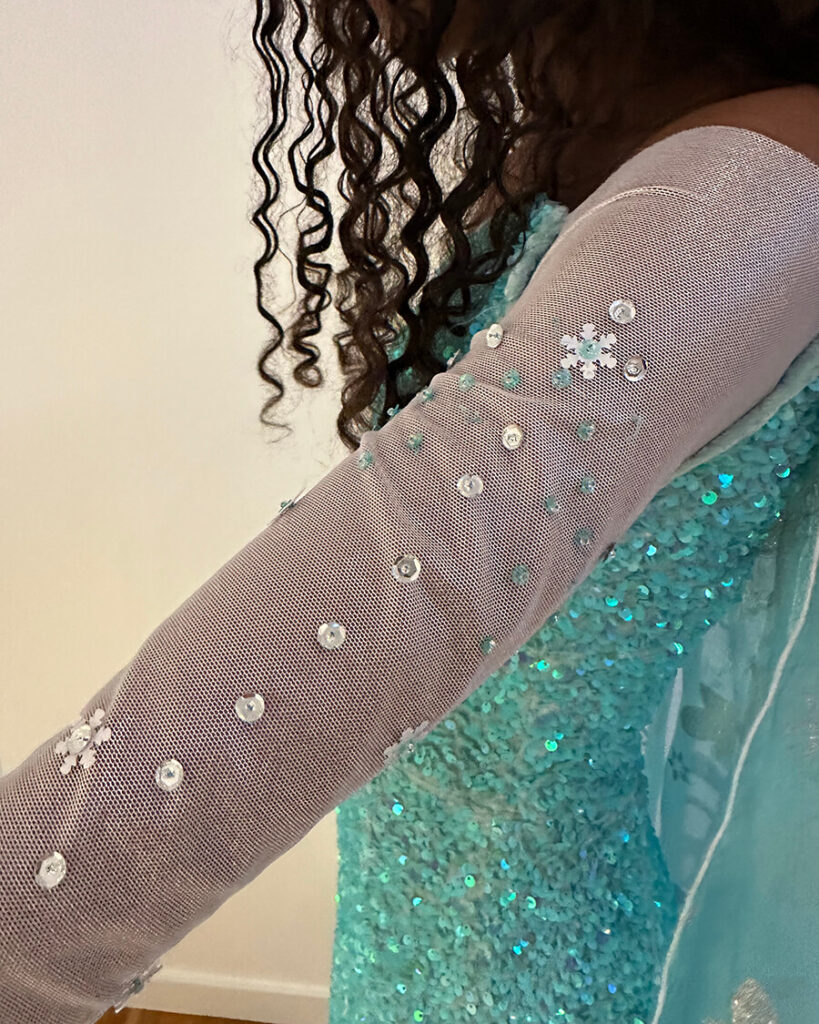
Silver Foil Power Mesh from Miss Nancy 48: I wanted the close-fitting long sleeves to be a shimmering second skin, but yet very flexible to support the activity of a stage performance. Miss Nancy helped me to choose this silver foil power mesh with a nice shimmer to make my sleeve vision a reality.
Glitter Snowflake Organza from My Fabric Dresser: Finding the just right fabric for Elsa’s icy blue majestic train of awesomeness was a bit of a hunt. These snowflake fabrics can be very cheap looking and shoddily made. I’ve had bad experiences with these glitter fabrics where I end up with more glitter stuck on me and the floor than stuck to the fabric. This fabric from a seller out of Canada was very nice quality. The snowflakes are nice and big to read well on stage, and printed with a silver glitter ink that didn’t rub off at all.
The best laid plans of mice and Makelings…
Right when all the fabric arrived, I injured my back and was laid low with a pinched nerve. (ouch!) It took over a week before I was able to get off the couch and back into my studio to work on the Let It Go dress. The deadline was now looming, and I ended up constructing this dress on the quick. Hence, I didn’t take the time to photograph or video many of the production details 😔
Dress Design
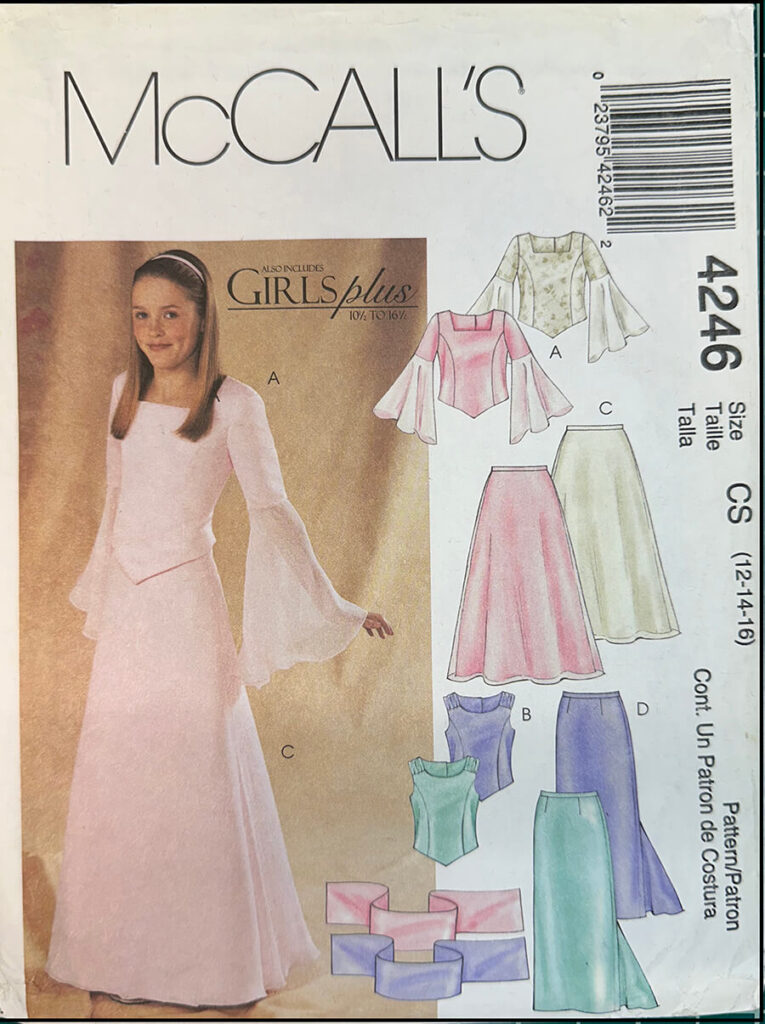
Drafting a pattern for Felicity is a fitting challenge as she measures out to a girls size 10 in girth, and a girls size 16 in length. (I know!) To draft the pattern, I used an old 2003 pattern from my stash as a base reference.
Bodice: I modified version “A” Top pieces to create a sleeveless princess seam bodice with a sweetheart neckline.
Skirt: I eliminated the waistband on version “D” Skirt (with godet train) pattern, and added more fullness to the skirt front using the slash and spread technique. I decided to cut the front slit in the skirt after the first fitting, to make sure I was getting it in the right position.
Then I altered all necessary pattern pieces to grade to the 10/16 sizing, and retraced the pieces onto fresh tracing paper to get an accurate cut.
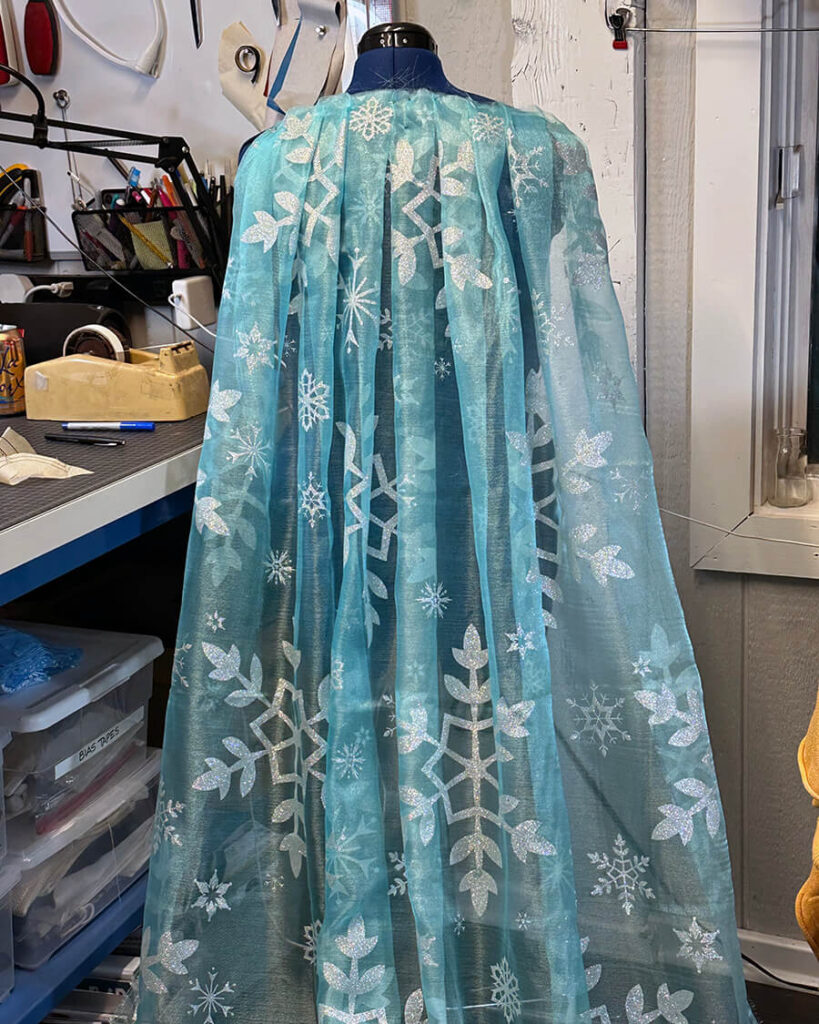
Icy Train of Awesomeness: This was easy. I folded a 3 yard length of 58″ wide organza in half and cut a half-circle arc at one end. After consulting with Felicity, I cut the 3 yards down to what we figured would be a manageable train length. Using a 3-thread narrow hem setting, I serged all the raw edges. Then I pleated the square end to fit across the shoulders, and finished that bit with a piece of organza binding.
Construction Tips
Use a rotary cutter with a new blade and lots of pattern weights. My standard anyway but kind of essential with the all-over sequined fabric. I found it easier to get an accurate cut with the sequins and velvet nap facing up.
To get accurate seams and a smooth fit, I use my trusty duckbill scissors to remove the sequins in seam and dart allowances. This is a tedious and messy task. And no matter how hard I tried to contain the mess, I would find a sequins everywhere – on my dogs, in my mash potatoes, on my husbands face! In hindsight, I was a little too aggressive with sequin removal, and I was not happy with the “bare” velvet around the waistline and zipper 😖
All-over sequined fabric is heavy, and a strain on some of the seams. Though I’m not a big believer in stay stitching, I do believe in stay tape. I save bits of silk selvedge for exactly this purpose (but store bought stay tape will work as well). I stitched some silk selvedge tape at the “V” point where the skirt meets the bodice, and at the sweetheart neckline.
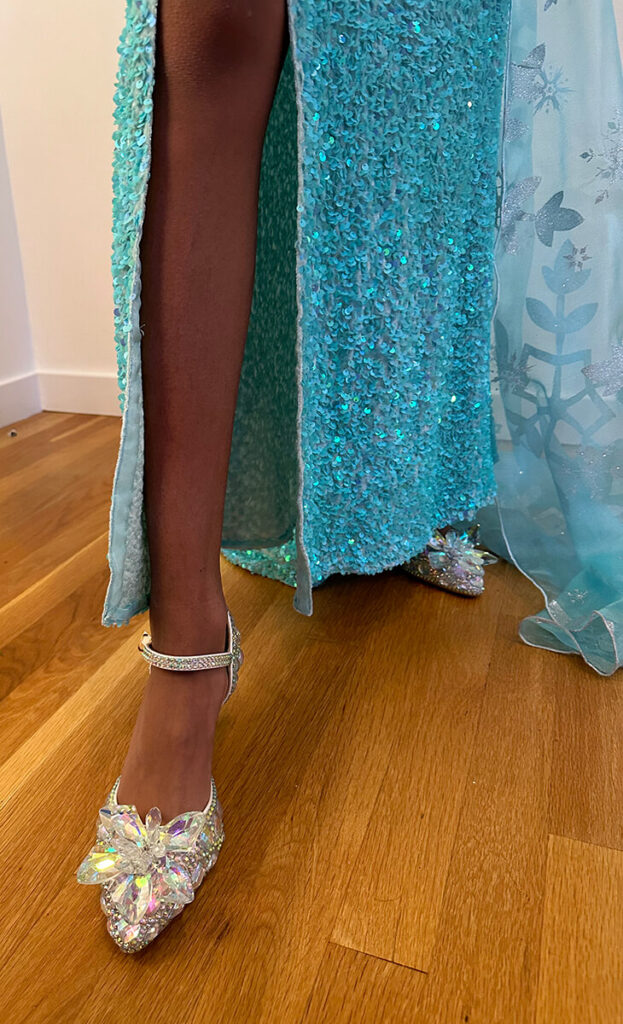
A 1″ organza ribbon from my stash was used to finish off the cut fabric edges at the top edges of the bodice and the slit on the skirt. I machine stitched the ribbon to the edge, folded it to the inside of the garment, and then hand slip stitched it in place. (You can kind of see it on the image of the shoes below) The ribbon proved to be a lightweight and sturdy finishing touch.
Frozen Fractals — the Little Details
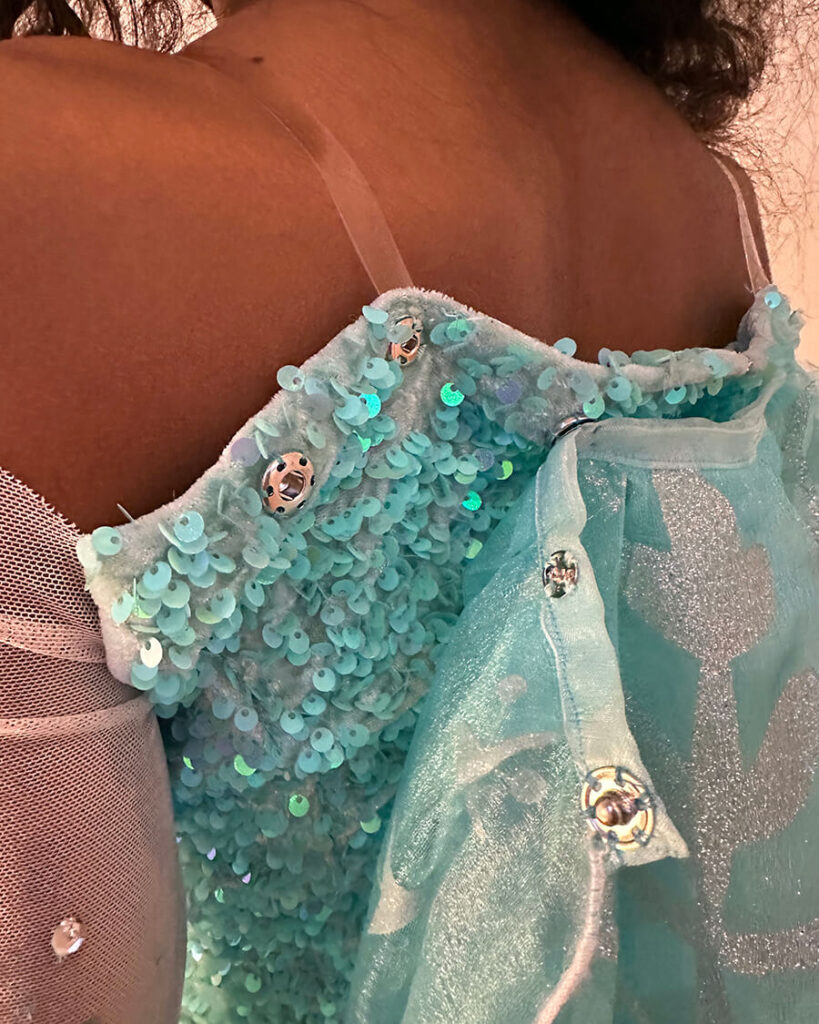
Clear 1/2″ elastic straps: For the strapless illusion, and security.
Hand sewn sequins on sleeves: The sequins were hand stitched one at a time onto the power mesh, but I think they added a nice bit of icy bling to Elsa’s arms.
Snap-on organza train: Though I decided on a snap-on train for easy access to the dress zipper, it turned out to be a good call for added durability. It turns out the train was always being stepped on backstage, and instead of ripping off, it would simply unsnap – an easy fix.
Ice crystal pumps: Not surprisingly the very first purchase made by my daughter Natalie upon Felicity’s landing the role – shoes! But you have to admit, these pumps are wonderfully perfect and exactly what a powerful Snow Queen would conjure up for herself.
Let it go, let it go…
So Frozen Jr. was terrific and the Let It Go dress was a big success.
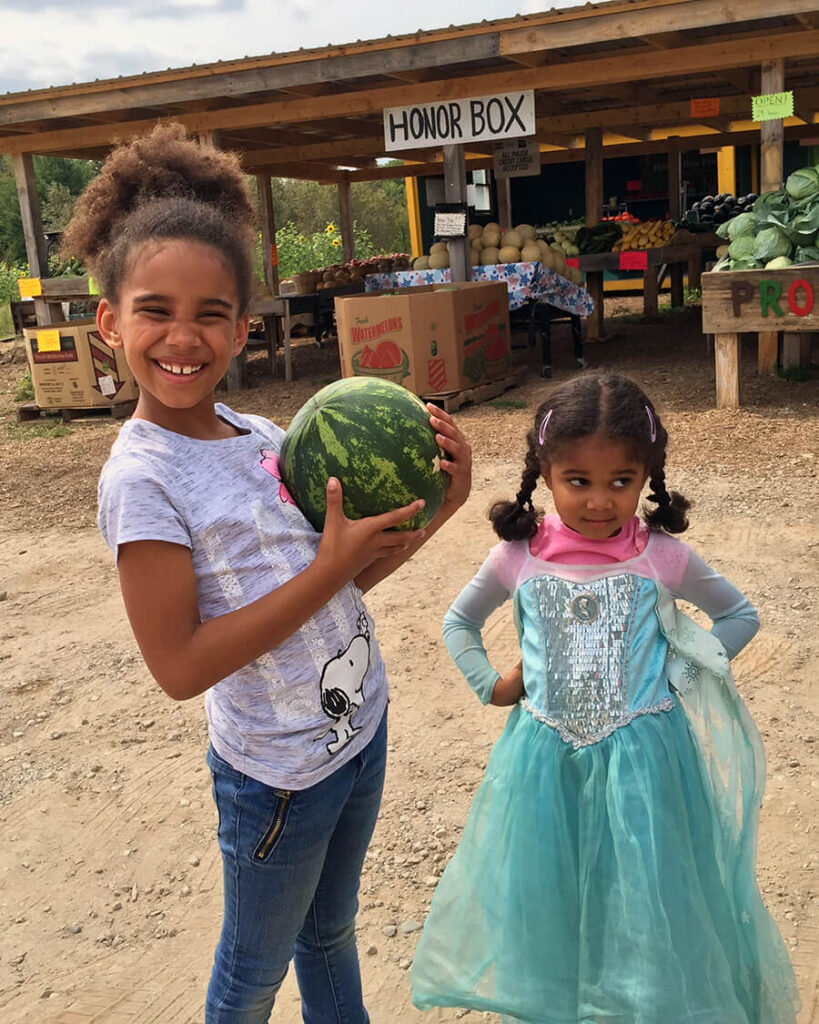
At the end of each performance the actors all come out in costume to greet their fans inn the audience. Little fangirls would come up to Felicity and touch her dress and take a picture with her. The magic was real!

Congratulations on a fantastic costume! I love all the detail you’ve included here, and while I can’t see me being asked to make a similar outfit (although a small part of me wishes I would!), there is plenty of great advice that can be used in other projects. Having never sewn with sequins myself, it is interesting to see how you handled this fabric. An amazing result, and I love the photo/video of Felicity then and now!
Thanks for all the compliments!
(Though, I will say, one never knows when they might need to make an icy blue cape of awesomeness… 😉