A fabulous fabric stash just doesn’t happen overnight. In my case, it has taken years and years!
My stash was born from remnants leftover from my completed projects.This baby stash was then spoon fed with that yardage I purchased with the best intentions of making something, but not following through. My little baby was further nourished when I saw a per yard price too good to pass up.
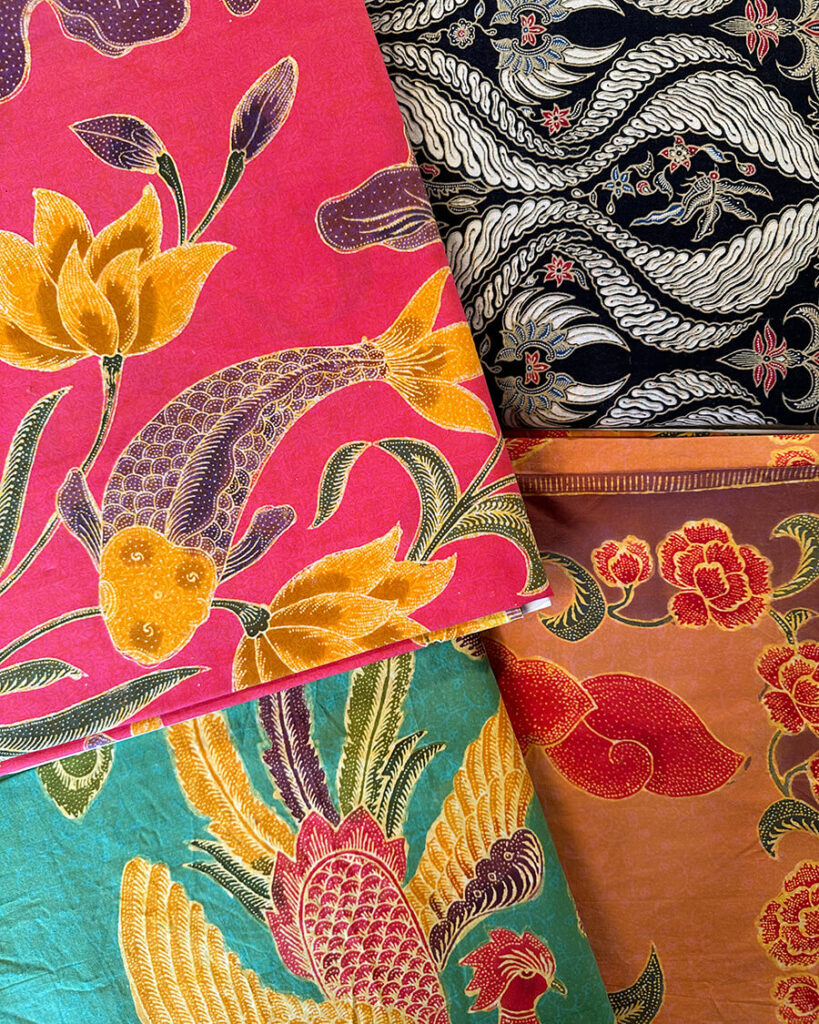
At this point I had become a full fledged fabric collector, with favorite fabric haunts. Finding fabric on the internet? No problem. I have no qualms with having fabric shipped to me from the far flung corners of the globe. My travel souvenirs are textiles. People give me fabric as a gift. What began as a few cute little remnants has grown into a big, beautiful textile beast – a beast that needs love and care.
A big beautiful stash is not necessarily a workable stash
Never very organized, my fabric stash was hard to work with. I threw unidentified remnants and new acquisitions into dark plastic bins. Because I stuffed these bins wherever I could find a space, I regularly found myself wandering from floor-to-floor, rifling through bin after bin for a piece of fabric I knew had be in there somewhere. Such a waste of time. It was often easier to just go out and buy more fabric than utilize my stash fabrics.
This disorganization will not stand, man.
Determined to tame this beast of my own making, I created a plan to create a workable fabric stash with the following goals in mind:
- Consolidate all stash fabrics in one place
- Protect my yardage from sunlight, dust, bugs, mold and mildew
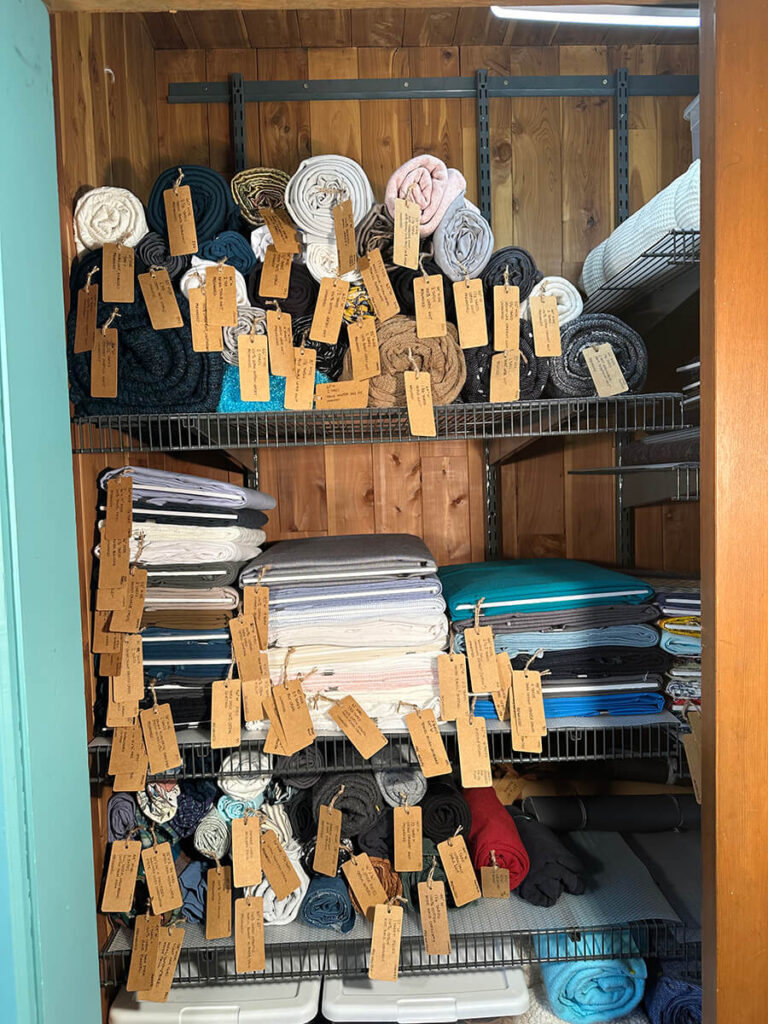
- Have visual access to easily see the majority of my apparel fabrics
- Identify, measure and label apparel fabrics with pertinent information i.e. width, length, fiber content
- Properly stow and organize all fabrics by type
One place to rule them, one place to find them…
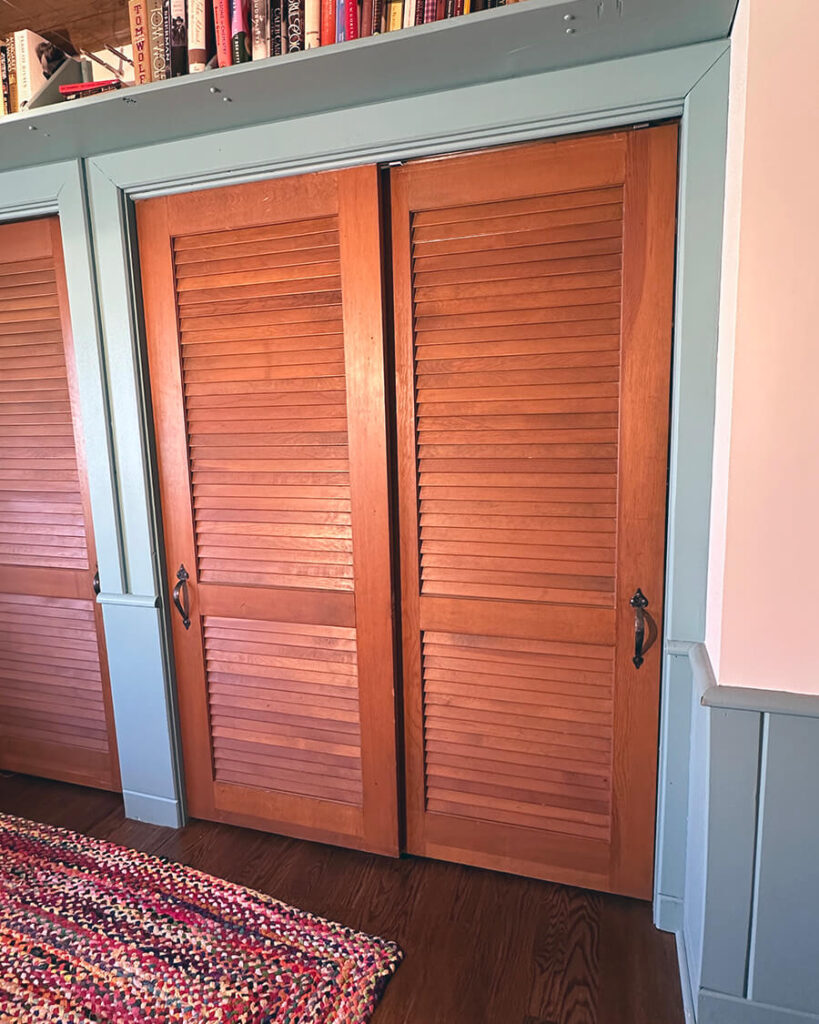
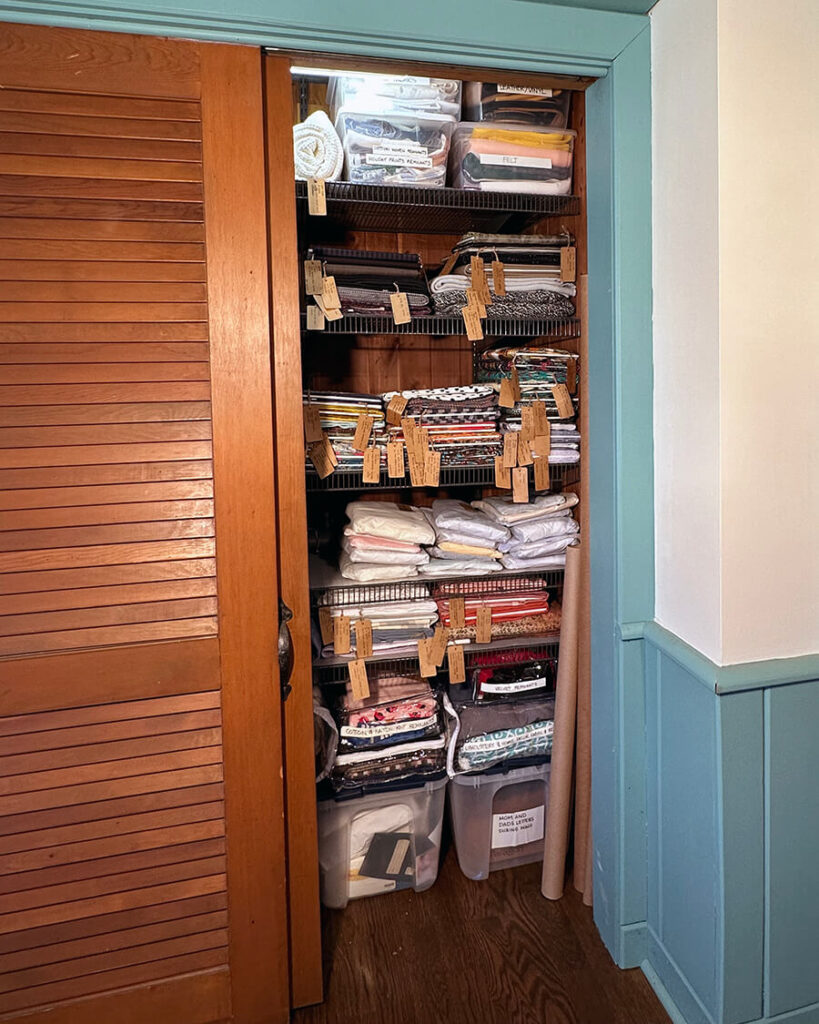
First off, I needed to figure out a dedicated space for the fabric stash. For sure there wasn’t any space available in the little studio I share with my husband. Pretty quickly I was able to determine that one of the two closets in our guest room was the best solution. The guest room is only a few steps from my studio, and the queen size bed would provide a “work surface” for prepping or auditioning fabrics.
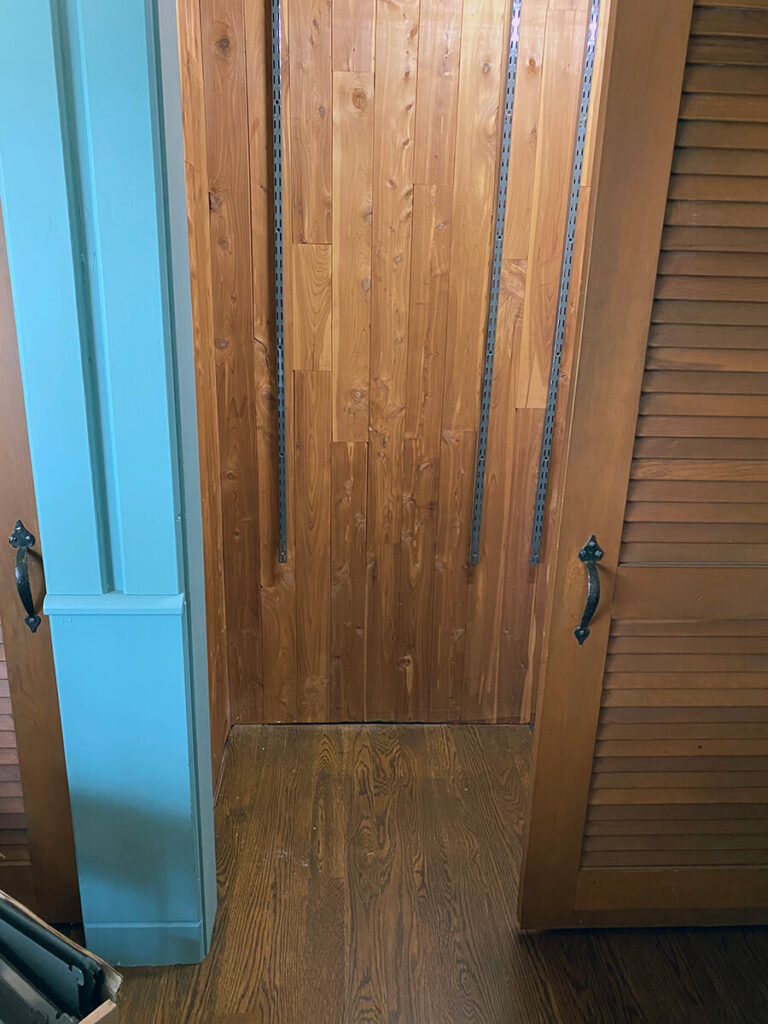
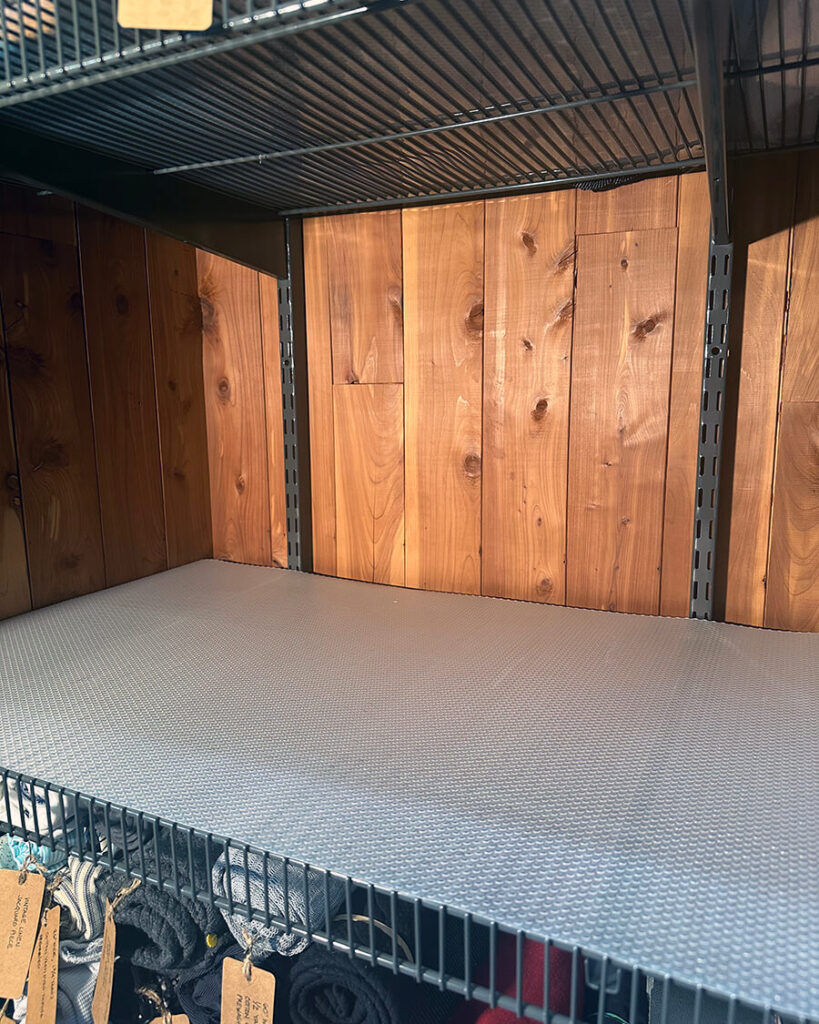
I’m really lucky because the closets in our little old house are all lined with thick cedar paneling and have louvered wooden doors. This is the perfect set-up for fabric storage. The cedar protects against any nasty bugs that may want to munch on my beauties. Louvered doors protect from dust and direct sun exposure, while still assuring proper airflow to minimize mustiness.
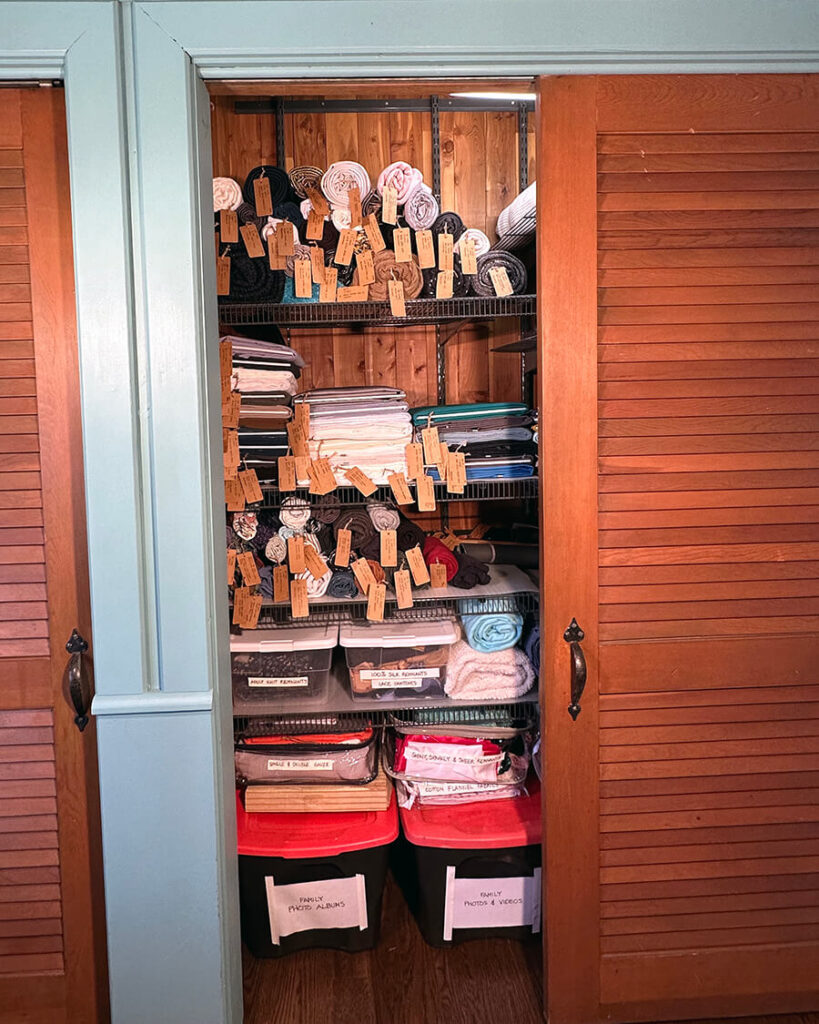
Once I began to clean out the closet, I was a little disappointed to realize I wouldn’t be able to devote the entire closet to my fabric stash. This closet housed four heavy plastic bins filled with family films and photography and I didn’t have any other suitable space for storing our photo archive. Consequently I arranged these photo bins to sit on the closet floor and they form the base “shelf” of the fabric stash.
After removing the existing closet rod and wooden shelf, I fit my new stash closet with 20″ deep wire bracketed shelves. I used rigid plastic lining on each shelf to prevent the wire from denting or marking the yardage. I also took the time to replace the old bare bulb light fixture with a new LED fixture.
Though this be madness, yet there is method in it.
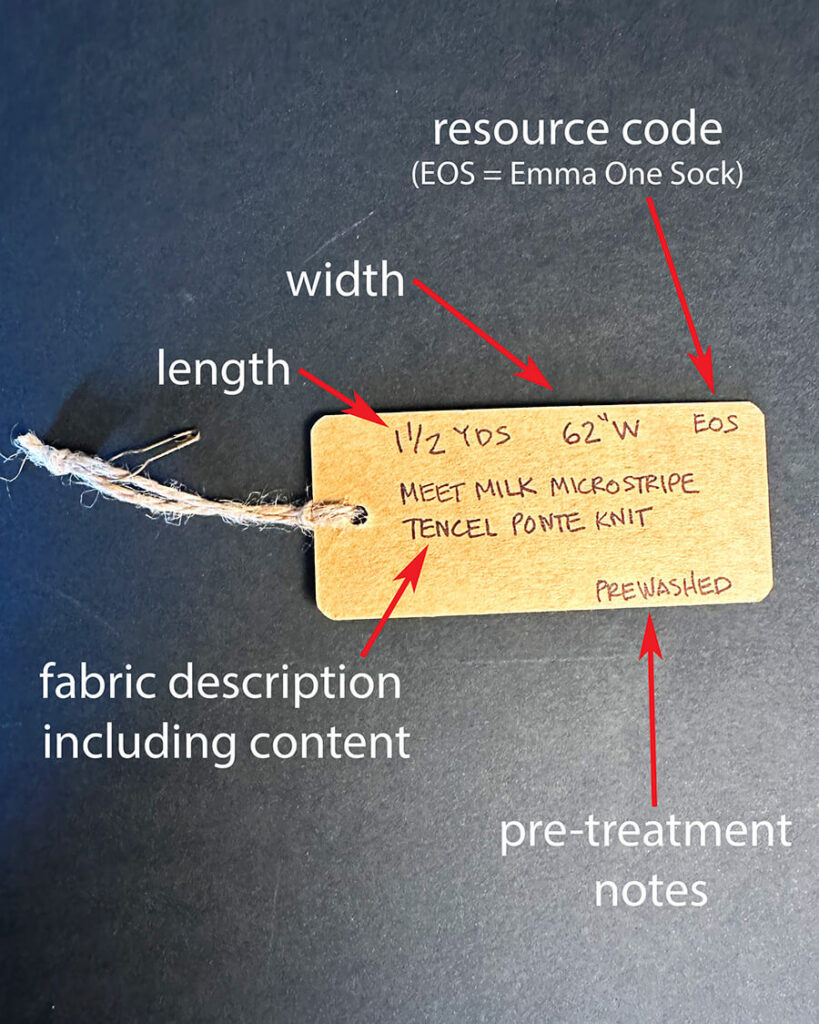
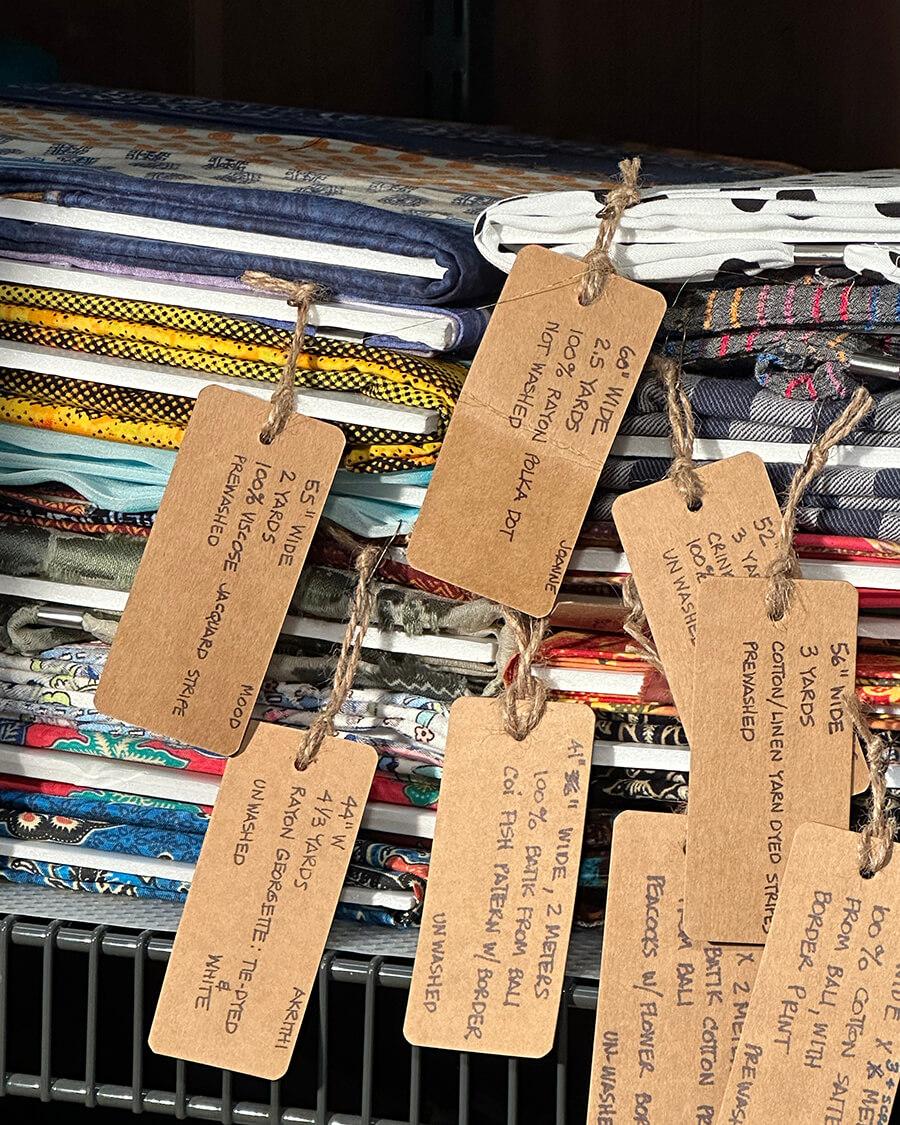
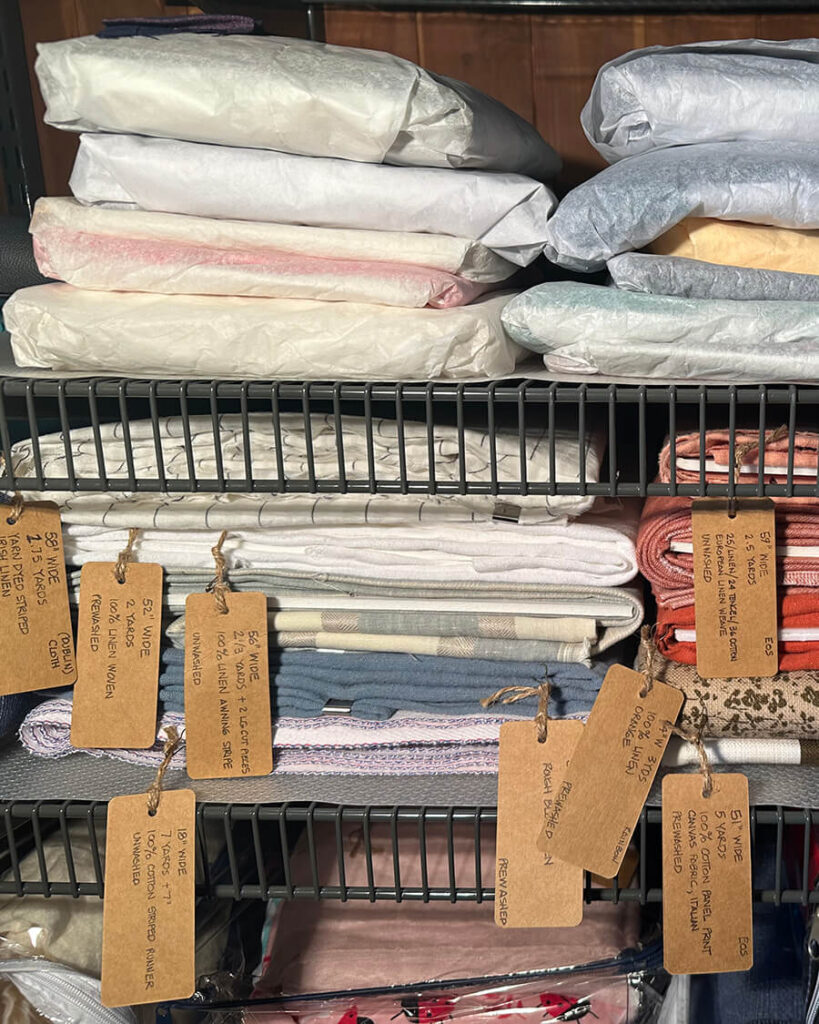
Labeling: I labeled all apparel fabrics with pertinent info handwritten on chipboard hang tags. I don’t keep a spreadsheet or any other type of written inventory of my stash. As I was never a spreadsheet kind of gal, I designed a storage solution to have instant visual access, which is more in keeping with my work style. In my mind, maintaining a spreadsheet is just another chore that takes time away from sewing.
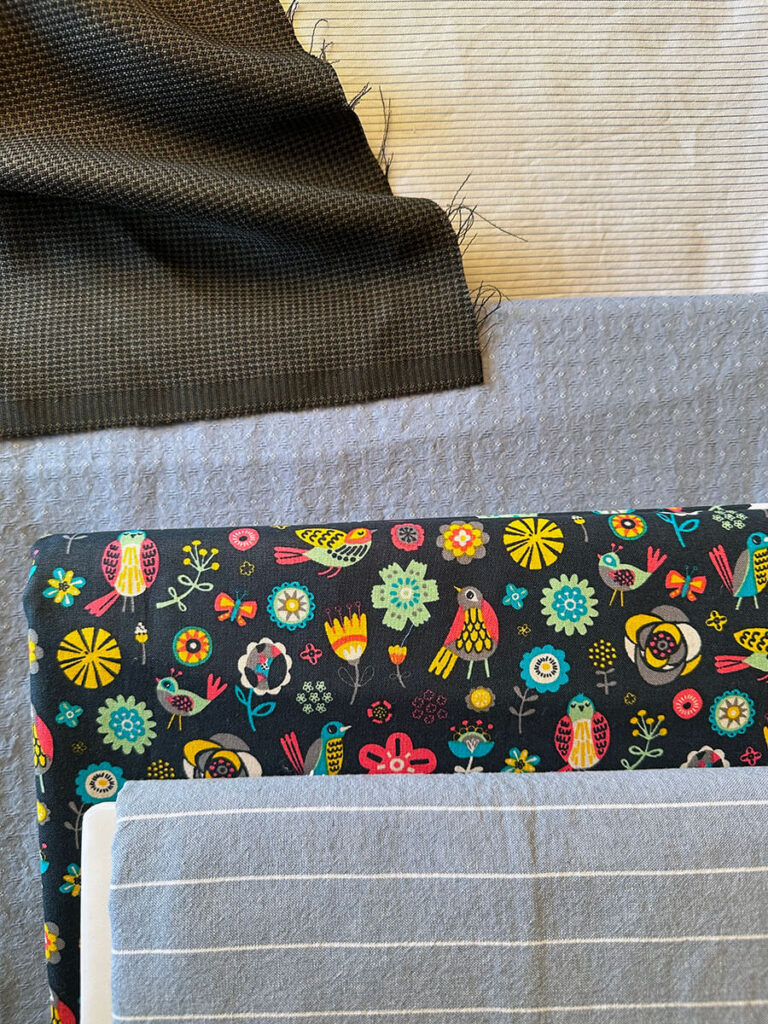
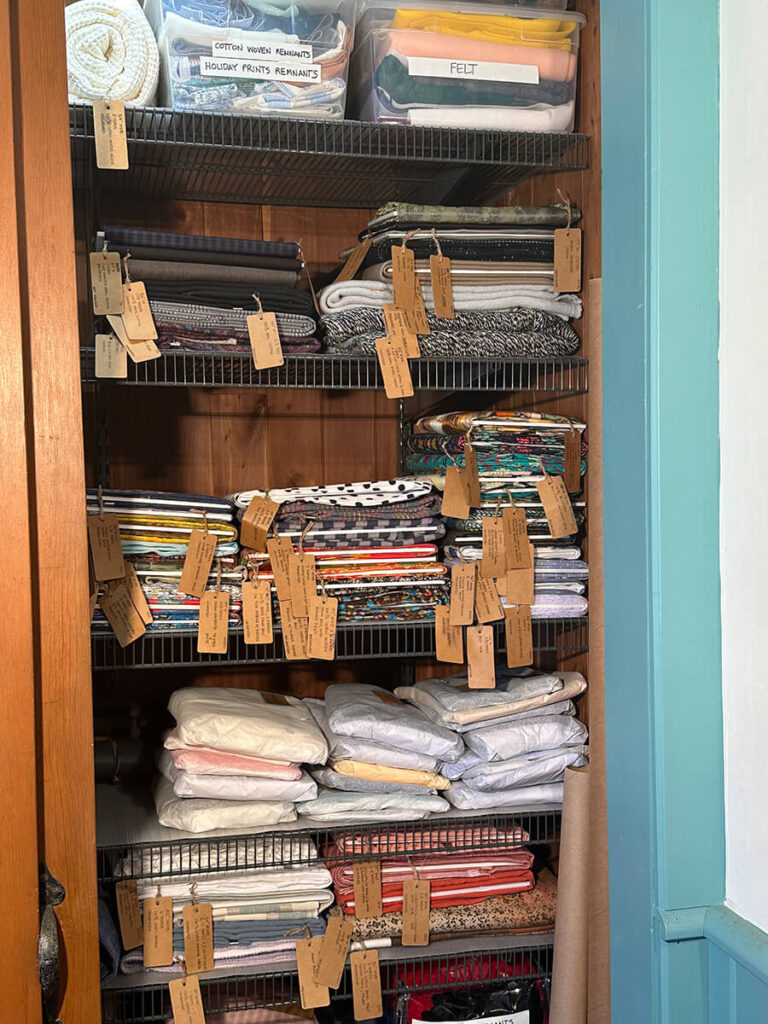
Storing: Other than some home decor and craft fabrics, the bulk of my stash is made up of a wide variety of apparel fabric. I decided to use different storage methods for the different types of fabric in my collection.
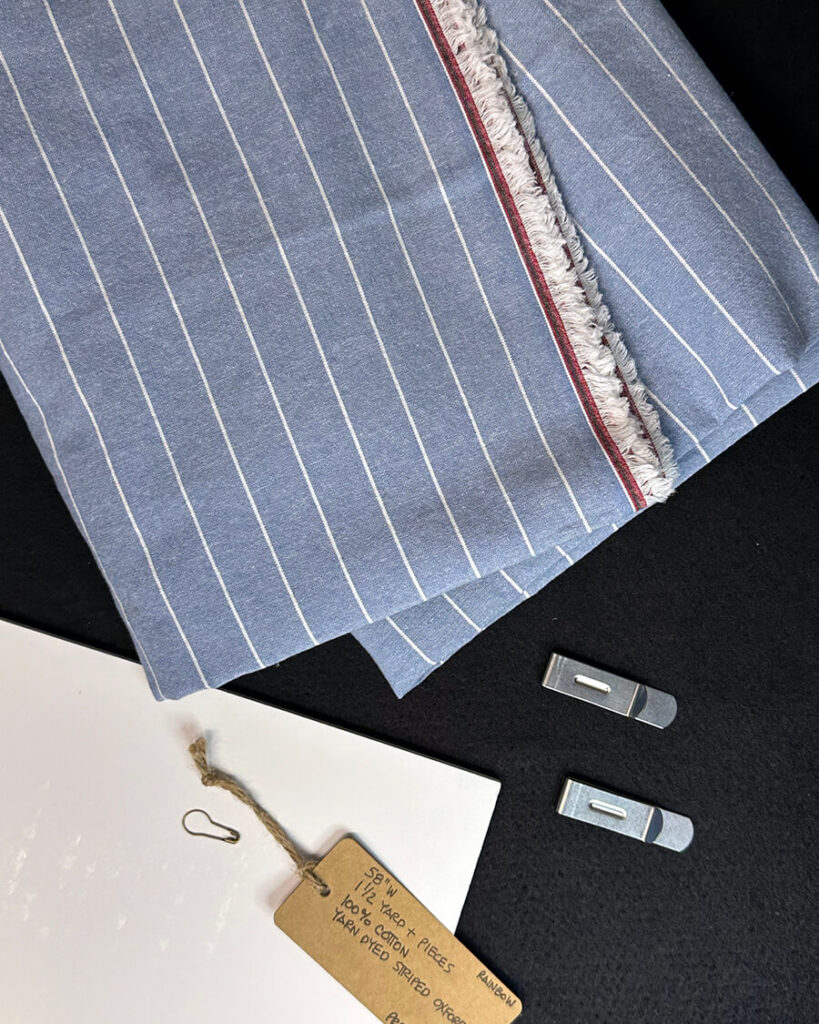
foam core board, clips and hang tag

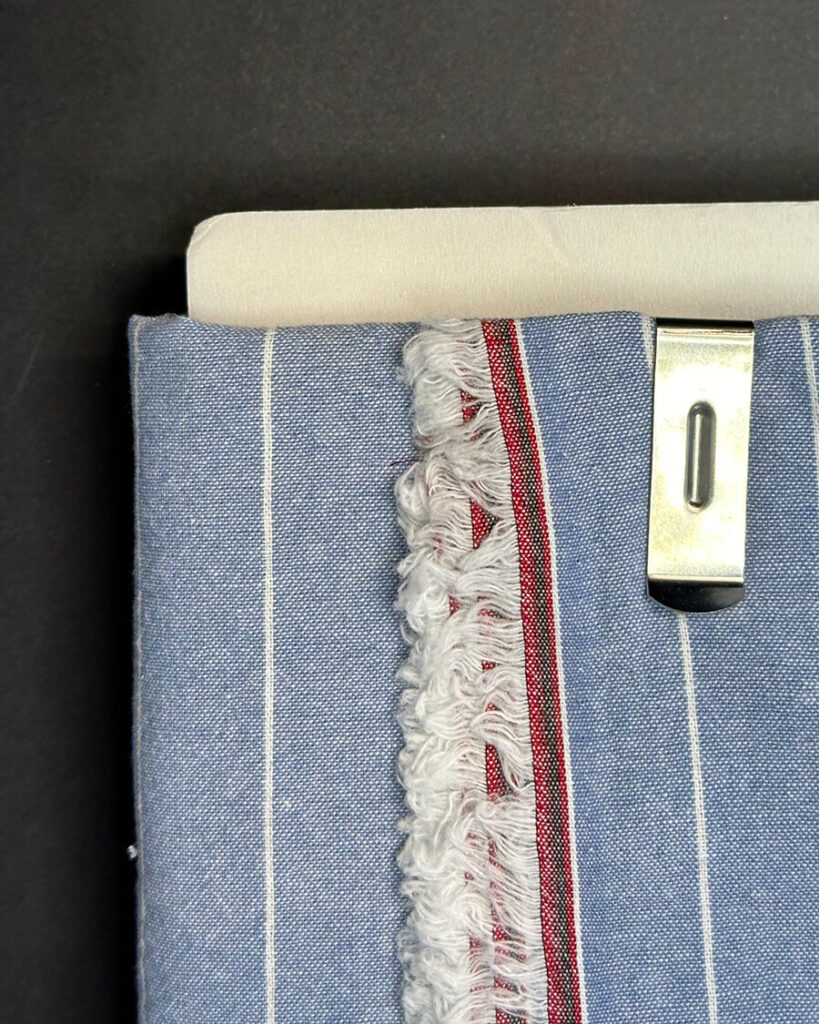
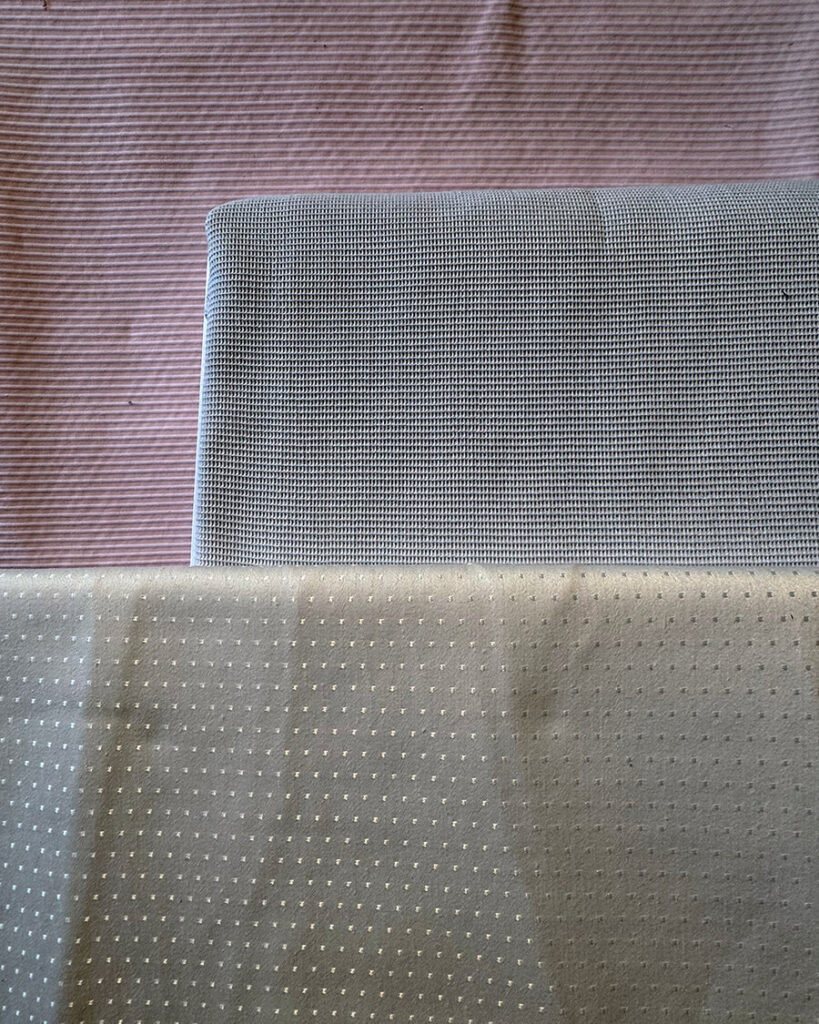
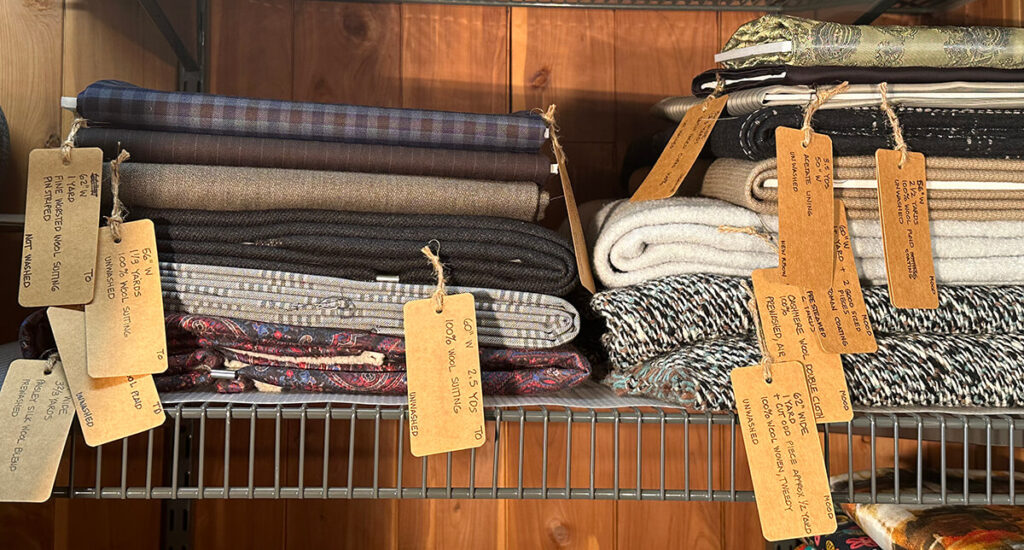
- Wovens I fold woven fabrics neatly and wind them onto mini bolts made of 3/16″ thick foam core board. I use two sizes of mini bolt, 11″ x 14″ and 7″ x 14″. I use these nifty clips called Bolt Buddies to secure the fabric on the bolt.
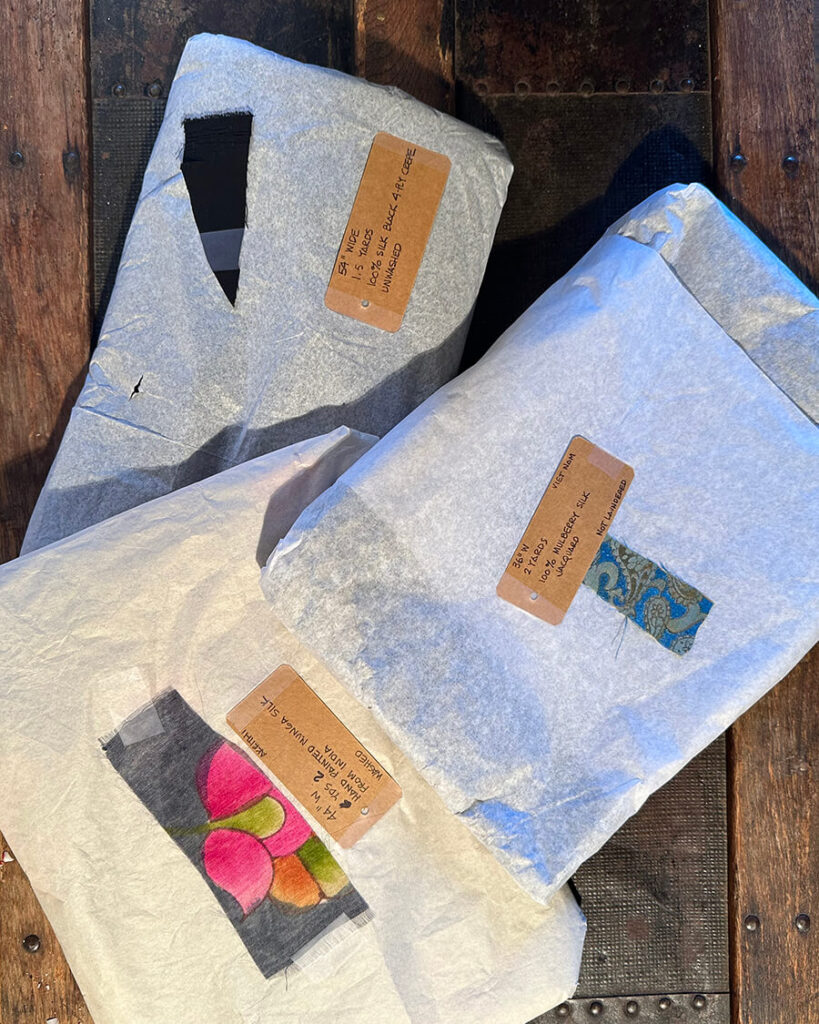
- Silks I fold and wrap my delicate silk fabric in in acid free tissue as it is very prone to fading. These packets are tagged and swatched.
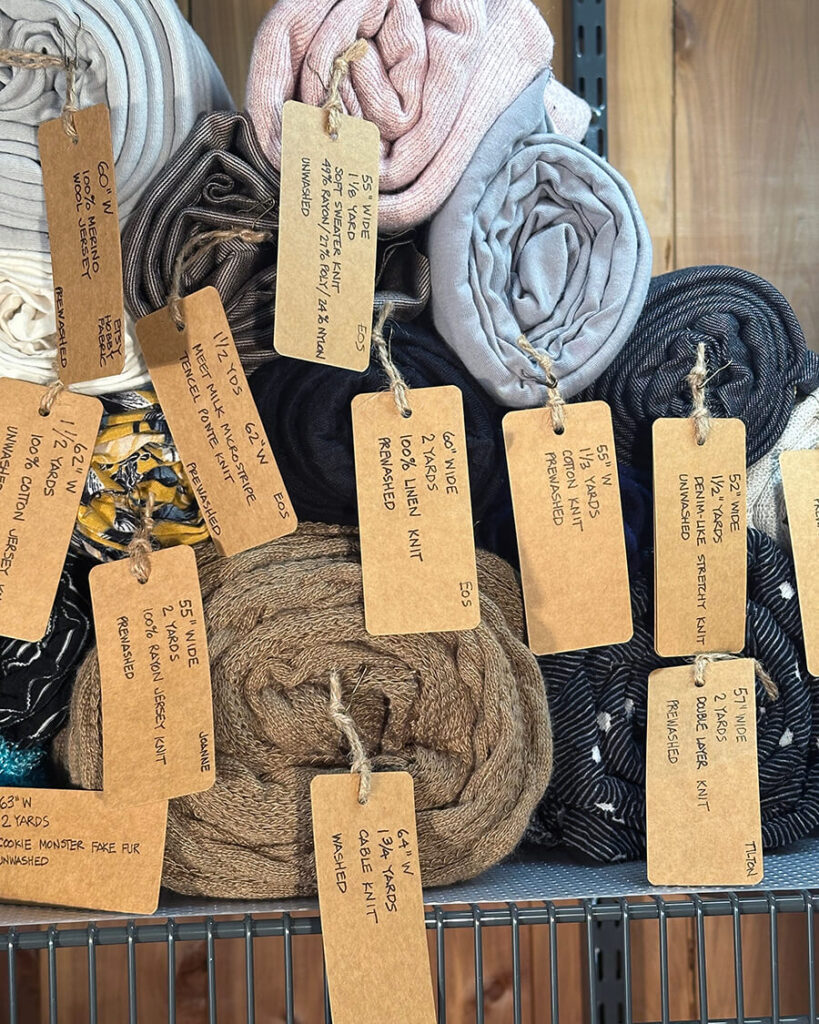
- Knits are kept rolled right side facing out, and secured with rubberbands or long pins
- Leather I roll face out and secure with bits if compulsively hoarded silk and linen selvedge.
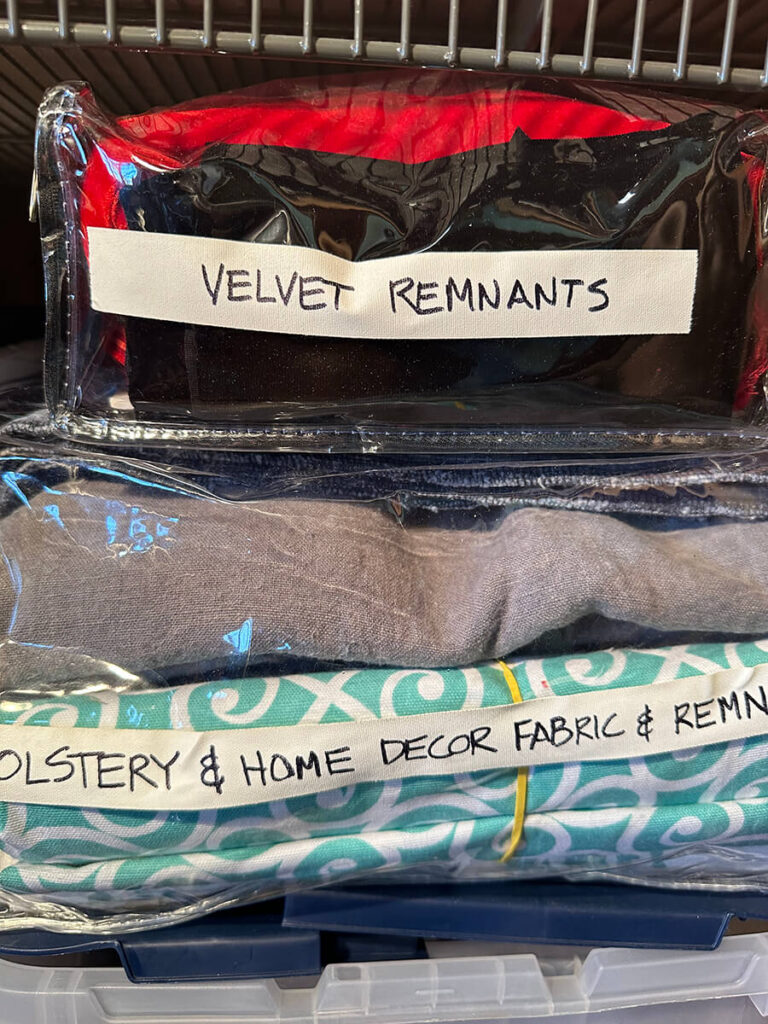
- Remnants and the non-apparel fabrics are sorted into clear plastic bins and clear plastic zip cases.
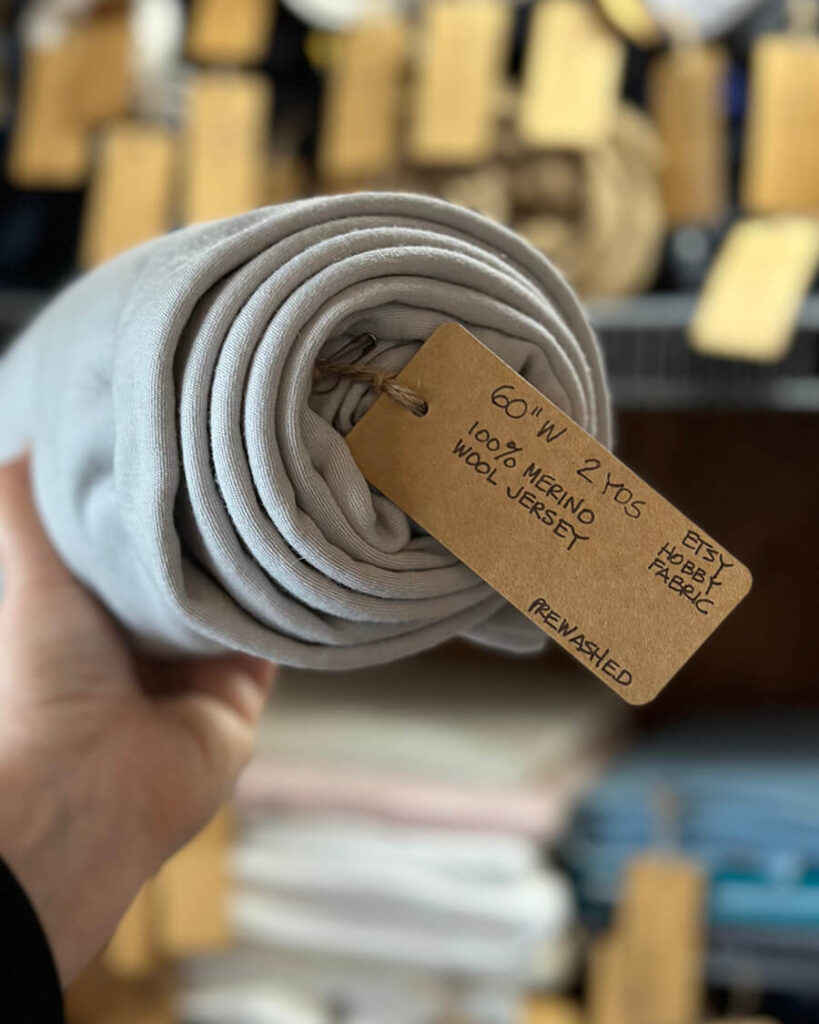

I sort the mini bolts into stacks of solids, prints, coatings and suitings. Linens, silks and knits have their own dedicated shelves. Some useable remnants are too small to rate mini bolt treatment, but still too large for my little bins. As a result, I keep these very useable remnants rolled up and stored with their original tags amended to reflect the new quantity.


My fabric stash absolutely sparks joy!
It is just a pleasure to peruse my stash and choose fabrics to audition for upcoming makes. It is now as easy to to take away from stash as it is to add to it.
I know many sewists are into diminishing their stashes or “destashing”, but I am definitely not at that point. I suppose the day might come when it is no longer a pleasure to wander the aisles of a fabric store, loving a print, reveling at the drape of a challis or the smooth texture of a fine wool suiting… A day where I no longer get a big kick out of scoring a great find for a great price…
No. No way. I just don’t see it. I’m afraid I’m just a dyed-in-the-wool fabric stasher, through and through. 🤪


Leave a Reply